Beginner’s Guide to Creating Your First Cricut Project
Introduction Cricut machines are powerful tools for makers, allowing you to create personalized crafts, home decor, apparel, and more. This beginner’s guide will take you step by step through setting up your Cricut machine, understanding its components, and completing your first project successfully.
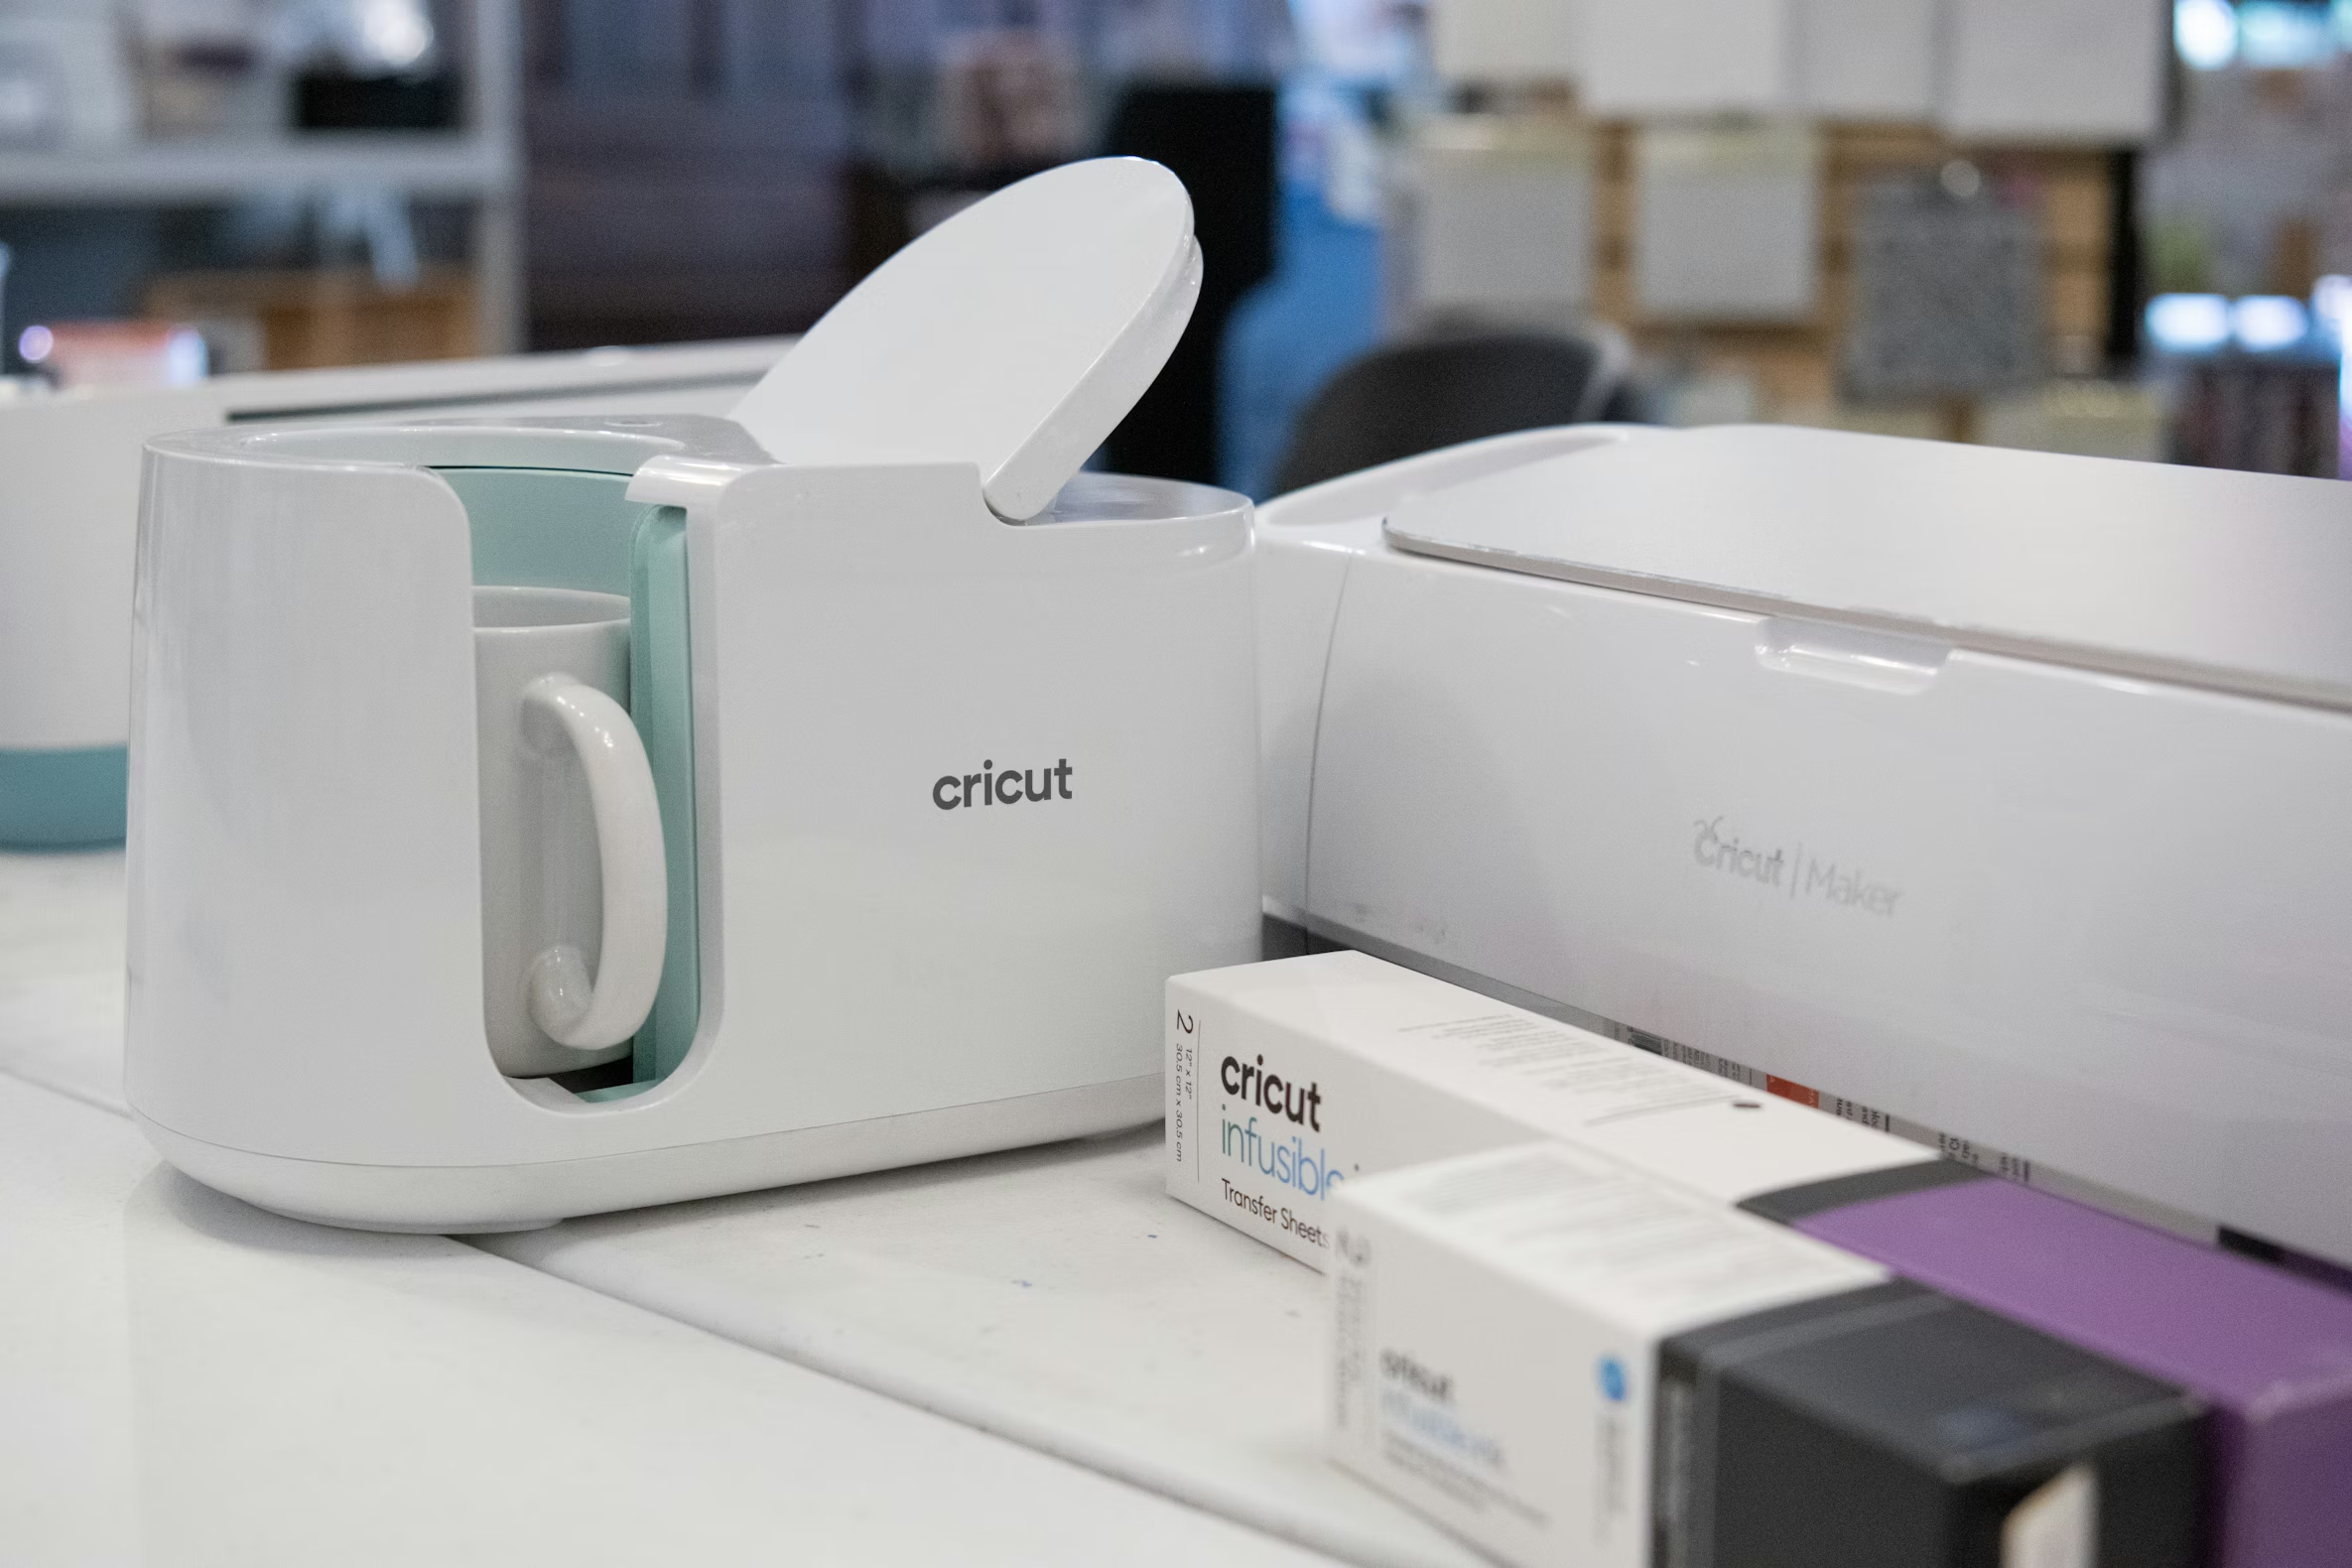
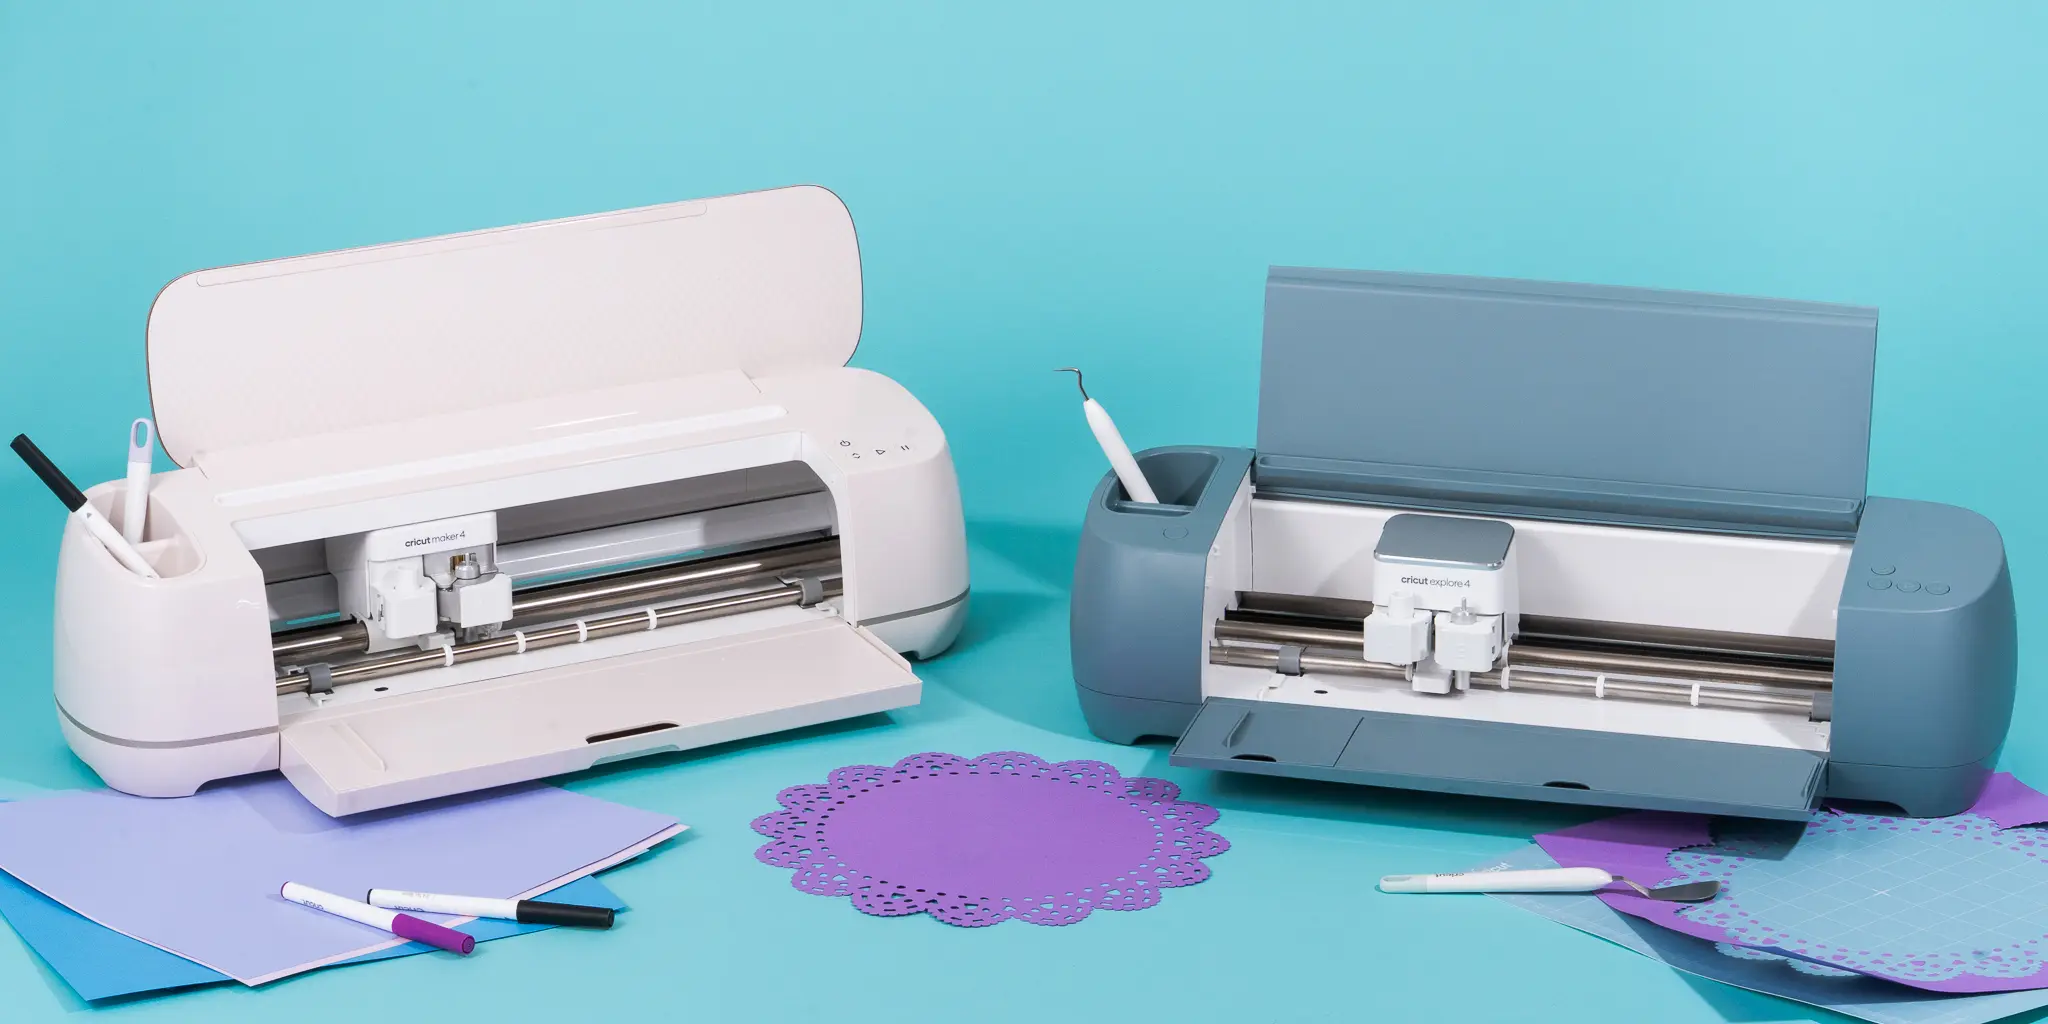
1. Understanding Cricut Machines Cricut offers different models including Cricut Joy, Explore, and Maker. Each has unique capabilities such as cutting, writing, scoring, and engraving. Understanding your machine’s capabilities ensures you select suitable projects.
2. Setting Up Your Cricut Machine Unbox your machine and connect it to a power source. Install Cricut Design Space, the software used to design, edit, and send projects to your machine. Create an account or log in if you already have one.
3. Installing Blades and Tools Depending on your project, you will need different blades (fine point, deep point, rotary). Install the blade securely in the machine’s carriage. Other tools like pens or scoring styluses can also be inserted into the designated holder.
4. Preparing Your Workspace Choose a flat, stable surface for your Cricut machine. Have mats, materials, and tools organized nearby to streamline the crafting process.
5. Understanding Cutting Mats Cricut mats come in various adhesive strengths (LightGrip, StandardGrip, StrongGrip) to accommodate different materials. Place your material on the mat, sticky side down, and align it carefully to prevent shifting.
6. Creating Your First Design Open Cricut Design Space and either start with a blank canvas or select a ready-made template. Add shapes, text, or upload your own images. Resize and arrange elements to fit your material.
7. Selecting Material Settings In Design Space, choose the material you’re cutting (vinyl, cardstock, iron-on, etc.). The software will automatically adjust the blade pressure, speed, and number of passes for optimal results.
8. Cutting Your Project Load your mat into the machine. Press the “Go” button and allow the Cricut to cut your design. Monitor the process to ensure everything is cutting correctly.
9. Weeding and Preparing Designs For vinyl or iron-on projects, remove excess material (weeding). This reveals only the intended design. Use a weeding tool for precision, especially on intricate designs.
10. Transferring Your Design For vinyl decals, apply transfer tape over the design and press it onto your target surface. For iron-on projects, preheat the material and apply heat with a press or iron, following temperature and timing guidelines.
11. Adding Finishing Touches Check the project for any misaligned areas. Smooth out air bubbles and ensure all elements are securely adhered. Trim excess material for a professional finish.
12. Safety Tips for Beginners Always handle blades and tools with care. Keep children and pets away from cutting areas. Follow Cricut safety guidelines and manufacturer instructions.
13. Maintenance and Care Regularly clean your cutting mats and blades. Replace dull blades as needed. Store your Cricut and accessories in a safe, dry place to maintain longevity.
14. Troubleshooting Common Issues If cuts are incomplete, check the blade sharpness, mat stickiness, and material settings. Ensure the mat is properly aligned and loaded.
15. Tips for Successful Cricut Projects
- Start with simple projects.
- Practice on scrap materials.
- Double-check settings before cutting.
- Organize your designs and materials.
- Gradually experiment with more advanced techniques.
Conclusion Your first Cricut project is achievable with the right preparation and guidance. By following this beginner-friendly guide, you can create personalized crafts, gain confidence, and explore the endless creative possibilities that Cricut offers.